6 Photo Retouching Tools That Will Make You Look Like a Pro
Have a photo that needs some TLC? Don’t have the time to go into full edit mode or ask for professional help? Try these 6 retouching tools in Photoshop that will make you look like a pro!
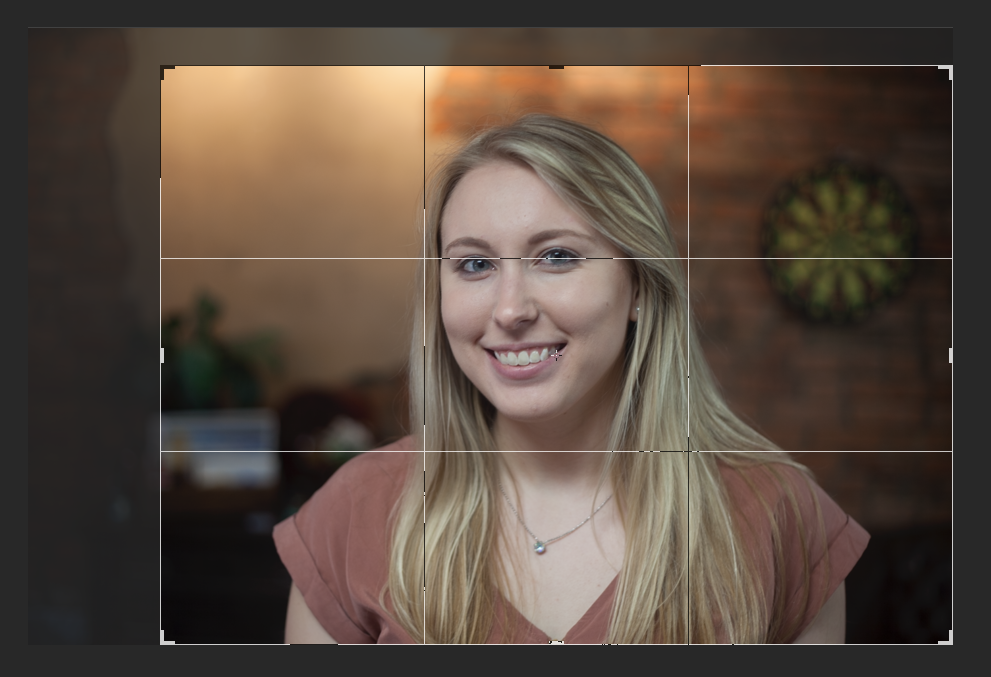
1. Crop
First things first, make sure to use the crop tool to make sure the image you’re working with is the proper proportion, is focusing on the subject you want it to focus on, if a thumb got in the lens, etc.
This will give you the base artboard to work on for additional edits and adjustments.
2. Image Adjustment Tools
Image > Adjustments > …
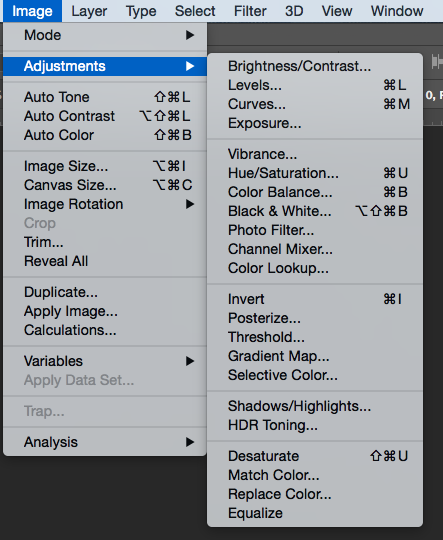
There are a variety of image adjustment tools within this toolbox that are helpful in making your image well-balanced.
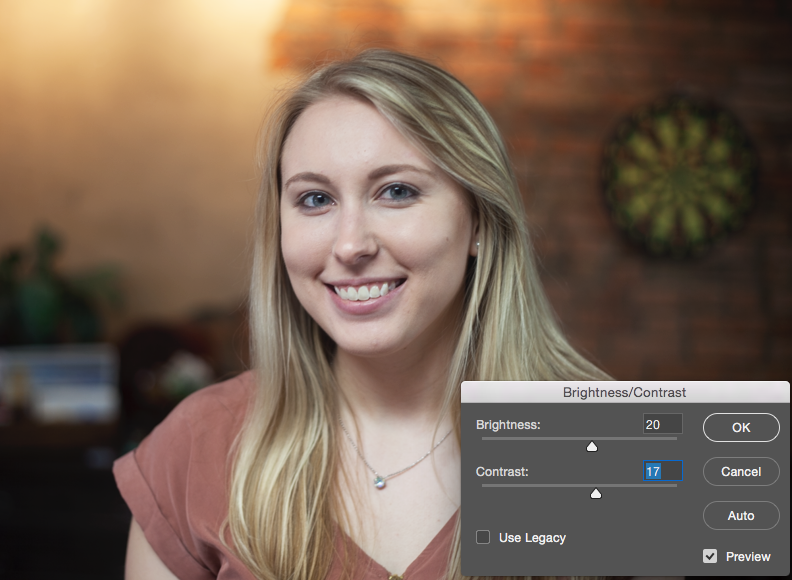
Brightness / Contrast
This tool helps with adjusting contrast in an image. Lightening the image and darkening the shadows helps create a more crisp and vibrant shot. Some photographers’ styles take this to an extreme for very dramatic effects. However, we suggest making subtle changes. Don’t move your adjustment sliders all the way to the left or right. Try and keep them close to the center.
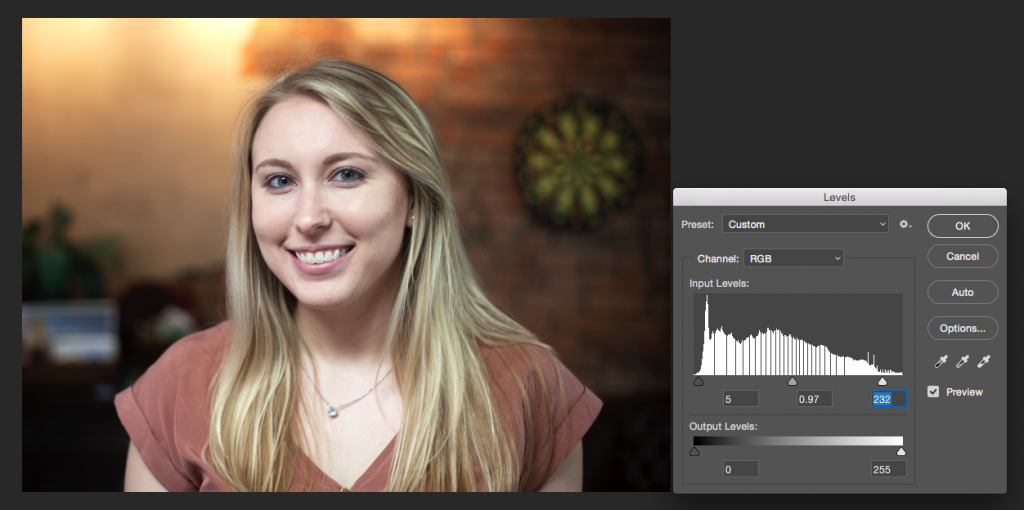
Levels
Slide around the 3 tabs at the bottom of the graphic to adjust the highlights, shadows, and midtones to create a better balance in your photos.
Exposure
Did your raw photo turn out way too light or way too dark? Correct this with the exposure tool, which will help create an overall lighter or darker photo.
For example, if you’re taking the picture on your phone, you can’t manually adjust exposure, so this tool will definitely come in handy when editing a mobile photo.
The exposure on our photo was already correct, so we did not adjust exposure on this example photo. That being said, if you do not see a purpose for using one of these tools while you edit a photo, then hold back from using it. Don’t use tools just for the sake of using them if they’re not going to make your photo look better.
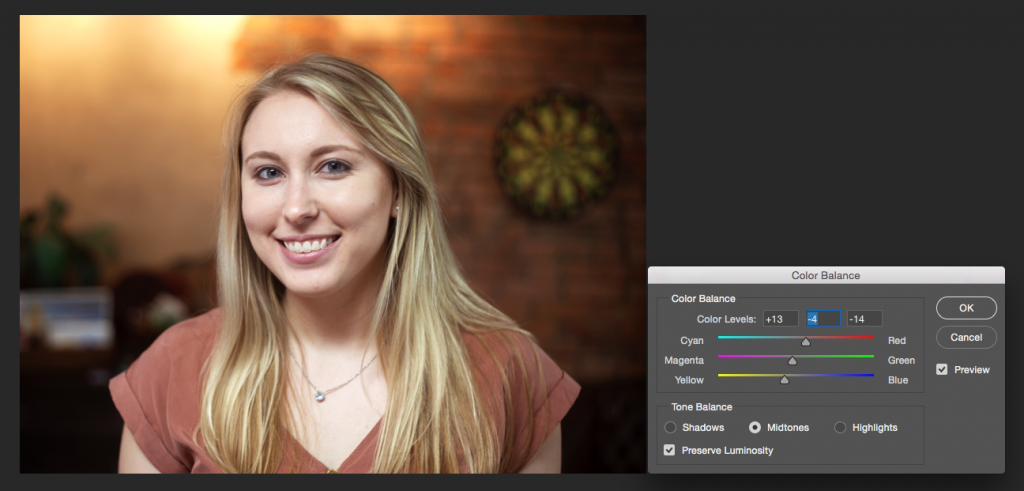
Color Balance
Using this tool, you can adjust certain colors within the photo. For instance, does your photo have too much pink in it? Move that slider towards the green to correct the coloring on the image.
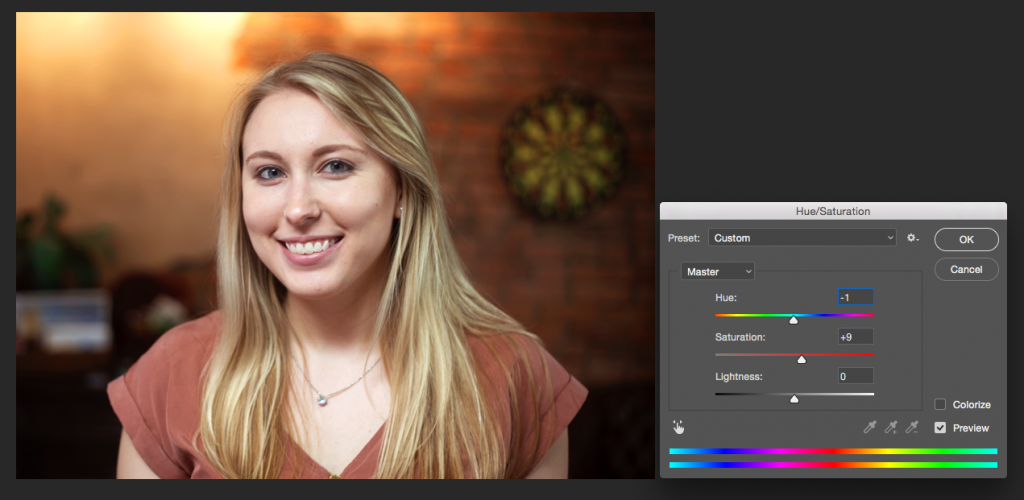
Hue/Saturation
The hue and saturation of the photo creates an overall color change to the photo. Slide the top tool to the left and to the right to see if your photo changes hues. Stylistically, should your photo have a cooler or warmer feel to it? Should it be very saturated or do you want it to be duller (or even grayscale)?
When working with food photography, this is a great tool to use to make sure your fruits and vegetables are looking fresh and vibrant.
3. Healing Brush Tools
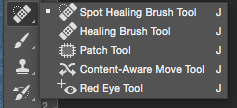
Healing brush tools can be found in your toolbox bar, with the band aid icon. In the case of this photo, we removed some blemishes on the face using the Spot Healing Brush. Additionally, we smoothed out and eliminated unwanted, distracting fly-away hairs. We also used the Patch Tool to remove the shadows under the eyes.
4. Dodge & Burn Tool
The Dodge and Burn tools are great for adjusting lightness/darkness of smaller elements, rather than the overall photo. In the case of this photo, we used the dodge tool to brighten the eyes and the teeth.
Be especially careful with how dramatic you make your adjustments using dodge and burn. Make these adjustments natural. People should not be able to tell you whitened a model’s teeth, or notice anything dramatic/unnatural.
One way to make your adjustments more subtle is by decreasing the intensity or opacity, that way you can make gradual, natural changes.

5. Blur / Sharpen / Smudge Tool
The blur, sharpen, and smudge tool are also great for localized, subtle adjustments. All of these tools do exactly as you’d expect them to. The sharpen tool will make elements of your photo more crisp, and the smudge tool will distort your photo as if you took your finger and smudged it. The blur tool is often used to soften portions of an image. In the case of our example photo, we smoothed out the face using the blur tool to give the complexion a soft, even appearance.
6. Liquify Tool
Filter > Liquify
Camera lenses are curved, and depending on the quality of your camera / lens, your photos may look slightly distorted when captured. This is where the Liquify tool comes in handy. The liquify tool has been used so often for facial adjustments that Photoshop now has a Face-Aware tool to make those adjustments quicker and more accurate.
For instance, in the photo below, we were able to make the eyes evenly sized. We also adjusted the nose to make it more proportionate to the model’s actual face (more narrow, slightly smaller, and positioned slightly higher on the face than the camera captured). We were also able to narrow the face slightly and adjust the jawline (again, more narrow and less square shaped than the camera had captured).
Those are just the tools we used for this example. However, there are many other facial adjustment tools including:
- Size of eye
- Height of eye
- Width of eye
- Eye tilt
- Eye distance
- Nose height
- Nose width
- Smile
- Upper / Lower Lip
- Mouth width
- Mouth height
- Forehead
- Chin height
- Jawline
- Face width
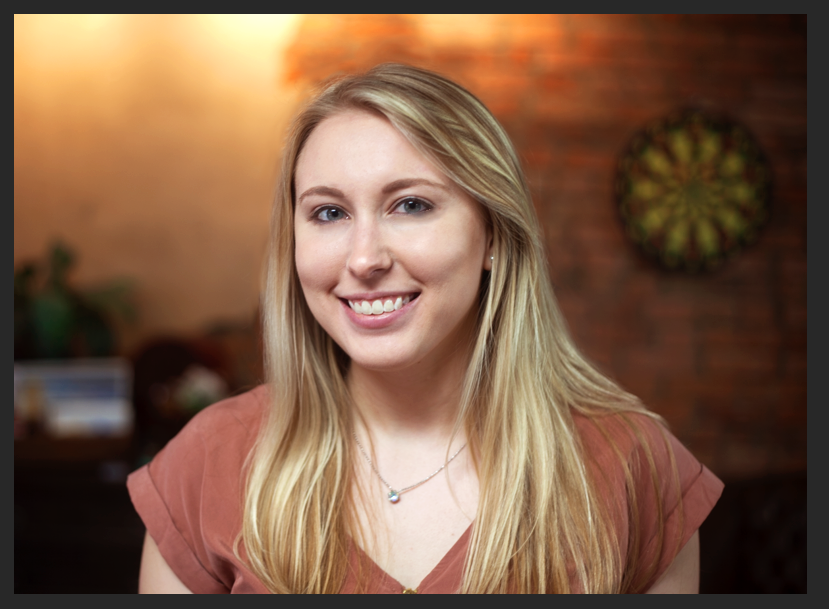
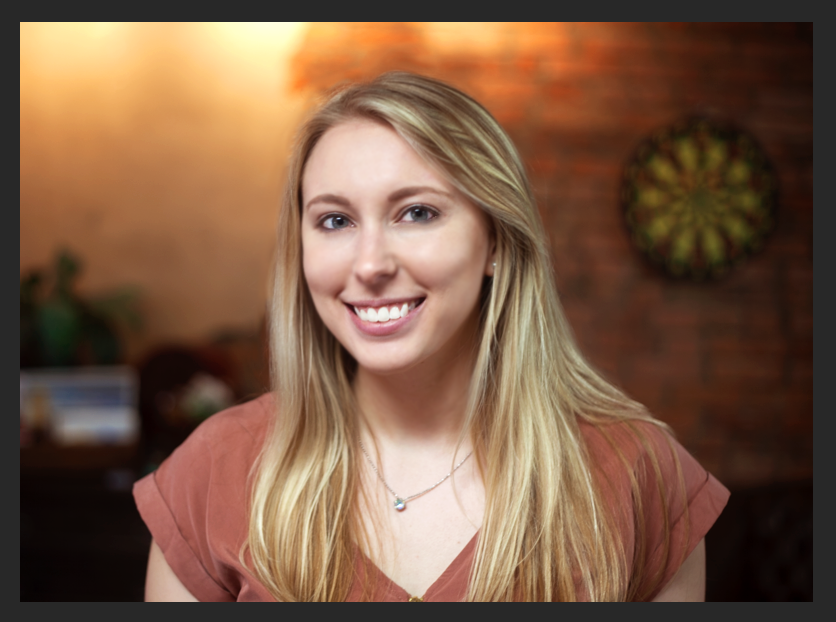
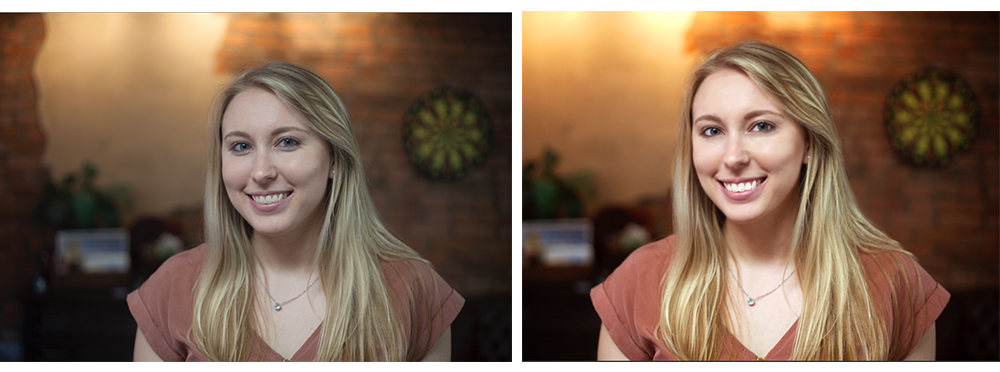
Before & After
Now that we’ve gone through the quick editing tools, let’s take a look at our before & after to see where we started and where we ended up.
Photoshop is a great tool for quick photo retouching for those of you who may not consider yourselves experts, but want to be able to make a photo look nice.
Lightroom is also one of the most popular tools to use to edit photos – many professional photographers prefer to use Lightroom when they want to take the time to make the perfect photo.
However, when you’re in a pinch and need to adjust a photo quickly and efficiently, use the 6 tools we recommend to give your photos the retouching they deserve.
Need photography but don’t know where to begin? Does your brand need a refresh? Contact us at ocreations – we can get you the new photography and brand image you’re looking for. Let’s get creative.